A lot of people don’t cut their dog’s nails because they’re afraid of upsetting the dog, getting bitten or creating a bad feeling all around. That makes nail cutting stressful and a chore every time a dog owner goes to do it.
If you’re lucky and your dog gets a lot of exercise, you might not need to cut his/her toenails. The high mileage will wear them down over time. But if you live in a city or suburb and your dog is fortunate to get a mile walk at best, cutting toenails is necessary.
So here are five steps to making the process go as smooth as possible:
Step 1: Get The Tools
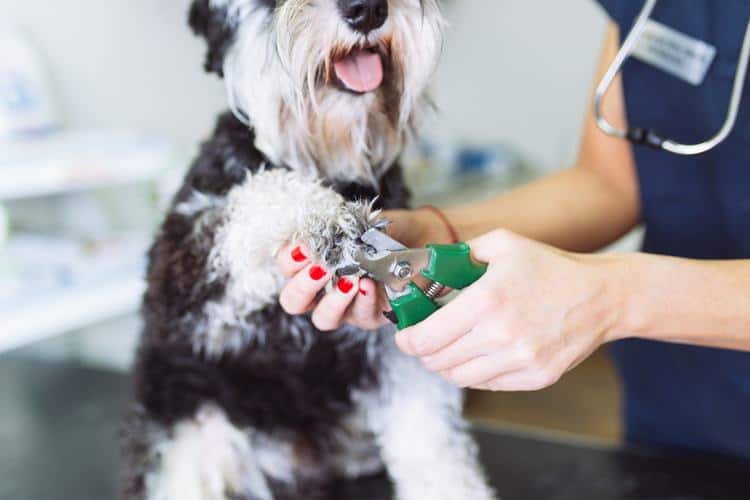
The first tool you will need is a pair of nail clippers: There are lots of different types of nail clippers for sale, such as guillotine-style nail clippers (great for the smaller breeds and easy to use), pliers style nail clippers (Ideal for more giant breeds) and the scissors-type nail clippers.
The second tool you’ll need is a reward, some dog treats will work. Giving treats as a reward for your dog after cutting each nail is an excellent way to keep the experience positive for your dog
The last tool you’ll need is Clotting Powder or Styptic Powder. Worst case scenario, you accidentally cut a nail too short, and your dog’s paw starts bleeding. These powders will help. Though baking soda, cornstarch, and baking flour would also work if neither Clotting Powder or Styptic is available.
Step 2: Trim The Nails
Using nail clippers can be intimidating, and dogs aren’t usually a big fan of them either. So always test out the nail clippers before you get started. No matter what kind of nail clipper you choose, make sure you have a firm grip on them and use your fingers to separate the dog’s toes. This makes the process of trimming the nails a lot easier.
A great rule of thumb is to get the dog used to the nail clippers before you start clipping. How do you do that? Put the nail clippers near the dog’s nails and feet. Give the dog a treat and be sure to praise him/her. Continue doing this for about 10-15 mins. Wait another day, then do the same process again by pushing down on the nail clippers, so they make noise. Praise and treat the dog some more for about 15 mins. Next time, actually trim the dog’s nails, and they’ll be used to the noise and the motion of the nail clipper.
Step 3: Be Safe
It’s a great idea to have a professional dog groomer, vet tech or veterinarian show you how to trim your dog’s nails properly. Once you have a grasp of the fundamentals, you’ll be better off. One thing to consider, if the dog is a puppy and he/she’s especially nervous, you can always cut the nails over time. No law says after trimming one nail, you have to trim them all.
Like I mentioned earlier, not all dogs need their nails cut either. Many living outside the city or suburb will wear their nails down, and the dry ends will flake off over time. But there are some dogs, such as Dachshunds and Bassets that will probably need assistance keeping their nails short. Based on the size of your dog and breed, you’ll need to trim the nails from once a month to once a week.
Sometimes you’ll make the mistake of cutting a nail too short. If this does happen, have some solution or clotting powder to stop the blood.
Step 4: Black Hair And Nails
Black hair and nails can make trimming nails more challenging. On the black nails, where there’s no pink, it’s hard to know where the live part of the nail begins. Check at the end of the nail. The whitest area is usually the dead part, and as you trim more in-depth into the nail’s end, you’ll start to see the dark area. This shaded area is the beginning of the live part.
Step 5: If Bleeding Happens
Place a small piece of paper against the nail’s end and hold it close for a few minutes. Have some clotting powder nearby and use a tiny amount against the bleeding end of the nail. Cup your hand, pour or dip the healing substance into the hollow and the bleeding should stop. If not instantly, the bleeding should stop in about 5-7 mins. Any longer than that and you should see a vet.
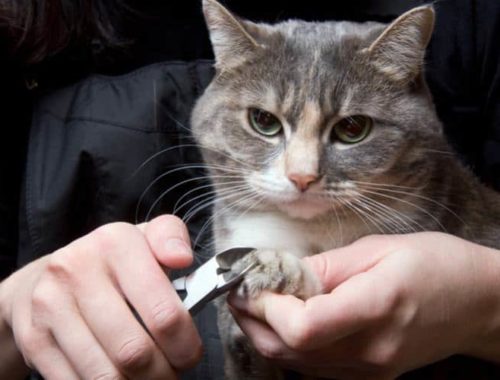
Do you have a cat as well? Learn how to trim your cat’s nails.


