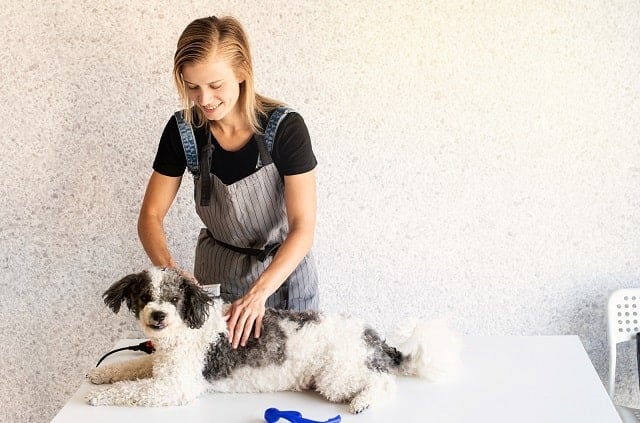
A well-groomed dog looks healthy and attractive, but many pet owners aren’t sure how to shave a dog. However, grooming is more than a way to keep your dog pretty. Regular grooming maintains the dog’s health and is vitally important for long-hair breeds.1 If you’re having a hard time getting to the groomer, it’s out of your budget, or social restrictions prevent access to your regular groomer, you can shave your dog yourself.
Before you start, remember to take your time. Make sure your dog is well-rested, fed, and exercised, especially if he’s not used to a shave. You want to create an environment that’s designed for the success of both you and your dog.
How to Shave a Dog: A Step-by-Step Guide
1. Gather Your Dog Grooming Tools
Once you start the grooming process, you don’t want to stop to find a comb or scissors. Get prepared by gathering your tools before you get the dog. You’ll need:
- Dog shampoo
- Towel
- Hairdryer
- Brush and/or comb
- Dog grooming clippers with a #10 blade (Human clippers easily overheat and may pull the dog’s hair.)
- Dog grooming scissors
- Leash
- Grooming table or table/countertop
A few optional tools you might want are a short pair of scissors for the hair between the paw pads, curved scissors to create shape, and texture scissors if you’re feeling fancy.
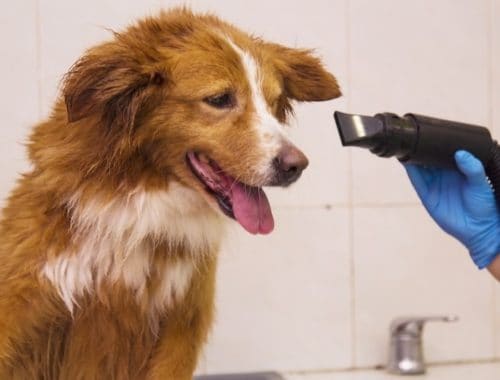
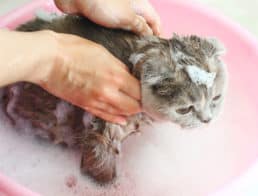
2. Shampoo and Dry the Dog
Before you start shaving, your dog needs a thorough cleaning. Shampoo the dog with warm water and gentle dog shampoo to remove mud and dirt. A bath removes debris that can snag or clog the clippers. It also makes it easier to brush through the hair.
Be careful around the eyes and ears. Use a towel to gently absorb water and dry the dog. Use a hairdryer on the cool setting to completely dry the hair while gently brushing through the initial tangles and knots.
3. Remove the Knots
Place your dog on the grooming table or countertop. The dog should be at about waist height. You may need to make some adjustments based on your dog’s size. If the table has an arm, attach his leash to the arm to help keep the dog in place with the head raised. The goal is to keep the dog at a comfortable height for you while providing access to the necessary angles for a good shave. Make sure that the leash is not too tight and that you never leave your dog attached to the grooming table unattended.
Remove knots and tangles with a brush or comb, moving in the direction of hair growth.2 Pay special attention to the legs and tail, where knots tend to form.
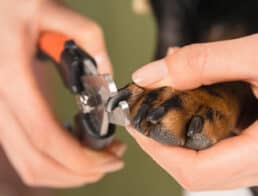
4. Trim the Hair Between the Paw Pads
After you’ve combed the body, comb the hair between the paw pads, moving the hair outward where it’s more easily accessed. If you have a pair of small scissors, use them to trim this hair to just below the pad’s height. You can still trim this hair even if you don’t have small scissors, but you’ll need to be more careful.
This is a sensitive area, so be gentle. Sharp scissors make sure you don’t pull the dog’s hair. However, keep an eye on the tip so you don’t nick the skin.
5. Trim Around the Rest of the Paw
Place the paw on the surface of the table. If you’re working with multiple pairs of scissors, you can use a larger pair to cut the hair around the paw, shaping the hair to the paw as you go. Trim all four feet.
6. Shave the Underbelly
It’s time for the dog grooming clippers and a shave. Most groomers get the best results with a no. 10 blade. These blades leave hair approximately 1.5mm, which has been shown to help reduce bacteria on the skin when compared to shorter blades.3
If you don’t have a no. 10 blade, err on the side of too long rather than too short.
Start at the back of the underbelly, leaving the rectal area for a little later. Move toward the front of the underbelly, starting each stroke toward the front, moving toward the back in the direction of the hair growth.4
The underbelly easily gets urine or feces on it, so it’s important to prevent the hair from growing too long. The fecal matter can stick, matting the hair and potentially obstructing normal bowel movements.5 As the hair mats, it can also tug on the skin and trap bacteria that cause irritation or infection.6
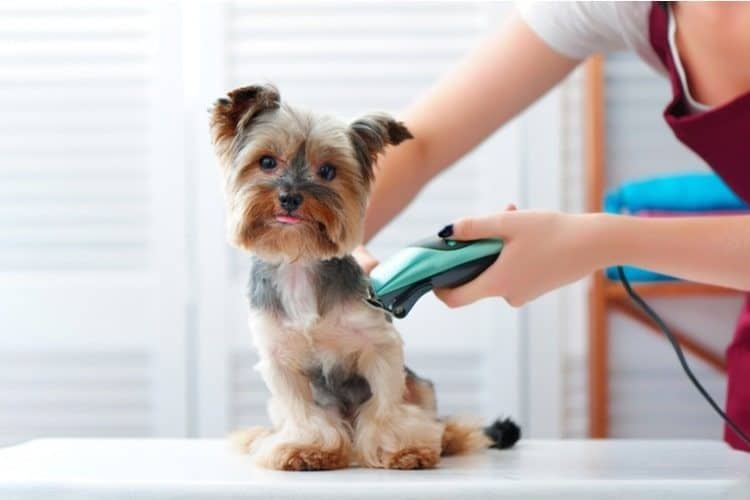
7. Shave the Dog’s Back and Sides
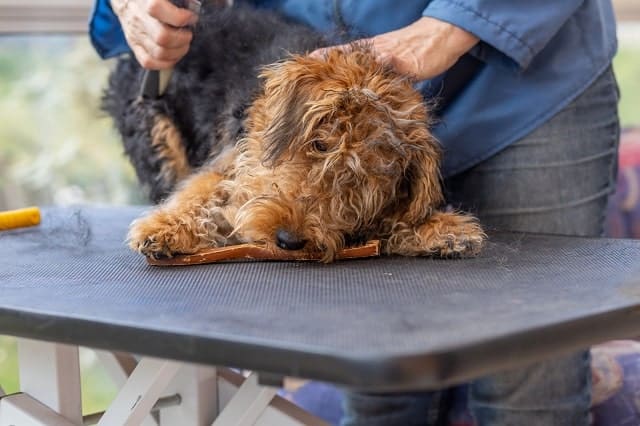
Still moving in the direction of the hair, shave from the front of the back, near the neck, toward the tail bone. The hair grows from the back toward the tail and then starts to curve down to the belly. Follow this natural curve to keep the results even and attractive.
Do both sides of the body, continuing to follow the direction of the hair growth and curve of the dog’s body.7 Be very careful in areas of thin skin such as the armpits and crease where the rear limbs meet the trunk. These areas can be easily nicked, especially in older dogs, so go slowly and cautiously in these areas.
8. Shave the Chest
Use the same method—following the direction of the hair growth and curve of the dog’s body—to shave the chest. Use your hand to gently raise the dog’s chin, so you can start at the top of the neck and work your way down the chest. The hair in this area may grow in different directions.8 Adjust the angle of the clipper angle to keep shaving in the direction of the hair’s growth.
9. The Tail
Comb the hair on the tail. Use scissors to clip the hair on the tail, around the tail’s base, and the rectal area. It’s important to keep the hair short so that fecal matter doesn’t collect.
10. The Head
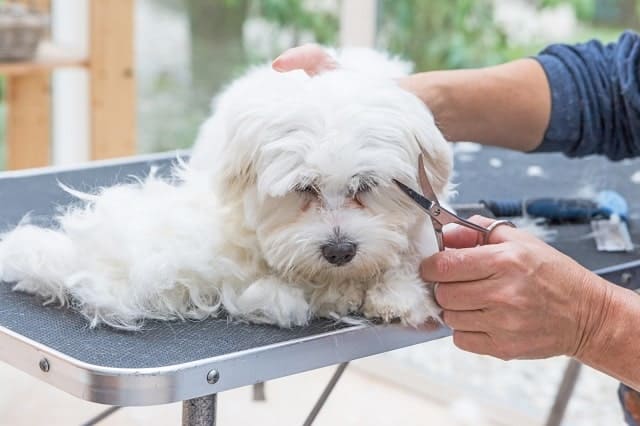
Comb the hair on the head, removing any knots around the eyes and on the ears. The ears and eyes are sensitive areas, so you’ll have to use scissors. Trim the hair around the eyes where tears collect using small scissors if you have them. Try to keep the dog’s mouth closed while you trim around the mouth. Lift the ears to trim the hair at the entrance of the ear, too. Again, be very cautious about trimming hair around the ears and eyes. If your dog is easily excitable and rambunctious, it may be best to leave these areas for a professional groomer.
Final Words
Dog grooming takes time and patience from you and the dog. Try to keep the experience positive for both of you. If either of you is having a hard time or getting frustrated, try another day. However, with a little practice, you’ll feel more comfortable and be able to take care of your dog’s grooming needs yourself.
- Cadieu E, Neff MW, Quignon P, et al. Coat variation in the domestic dog is governed by variants in three genes. Science. 2009;326(5949):150-153. doi:10.1126/science.1177808
- Welle MM, Wiener DJ. The Hair Follicle: A Comparative Review of Canine Hair Follicle Anatomy and Physiology. Toxicol Pathol. 2016;44(4):564-574. doi:10.1177/0192623316631843
- Messiaen, Y, MacLellan, JD, and Pelsue, DH. Evaluation of the number of colony forming units on the skin of dogs after clipping the hair with two sizes of clipper blades. American Journal of Veterinary Research. 2019; 80(9): 862-867 DOI: 10.2460/ajvr.80.9.862
- Welle MM, Wiener DJ. The Hair Follicle: A Comparative Review of Canine Hair Follicle Anatomy and Physiology. Toxicol Pathol. 2016;44(4):564-574. doi:10.1177/0192623316631843
- Apple Valley Animal Hospital. Constipation and Obstipation. Avvets.com. Accessed March 19, 2021.
- Watson, E and Niestat, L. Osseous lesions in the distal extremities of dogs with strangulating hair mats. Veterinary Radiology & Ultrasound. 2020. DOI: https://doi.org/10.1111/vru.12924
- Welle MM, Wiener DJ. The Hair Follicle: A Comparative Review of Canine Hair Follicle Anatomy and Physiology. Toxicol Pathol. 2016;44(4):564-574. doi:10.1177/0192623316631843
- Tomkins LM, McGreevy PD. Hair Whorls in the Dog (Canis familiaris), Part II: Asymmetries. The Anatomical Record. 2010;293(3):513-518. doi:10.1002/ar.21077